
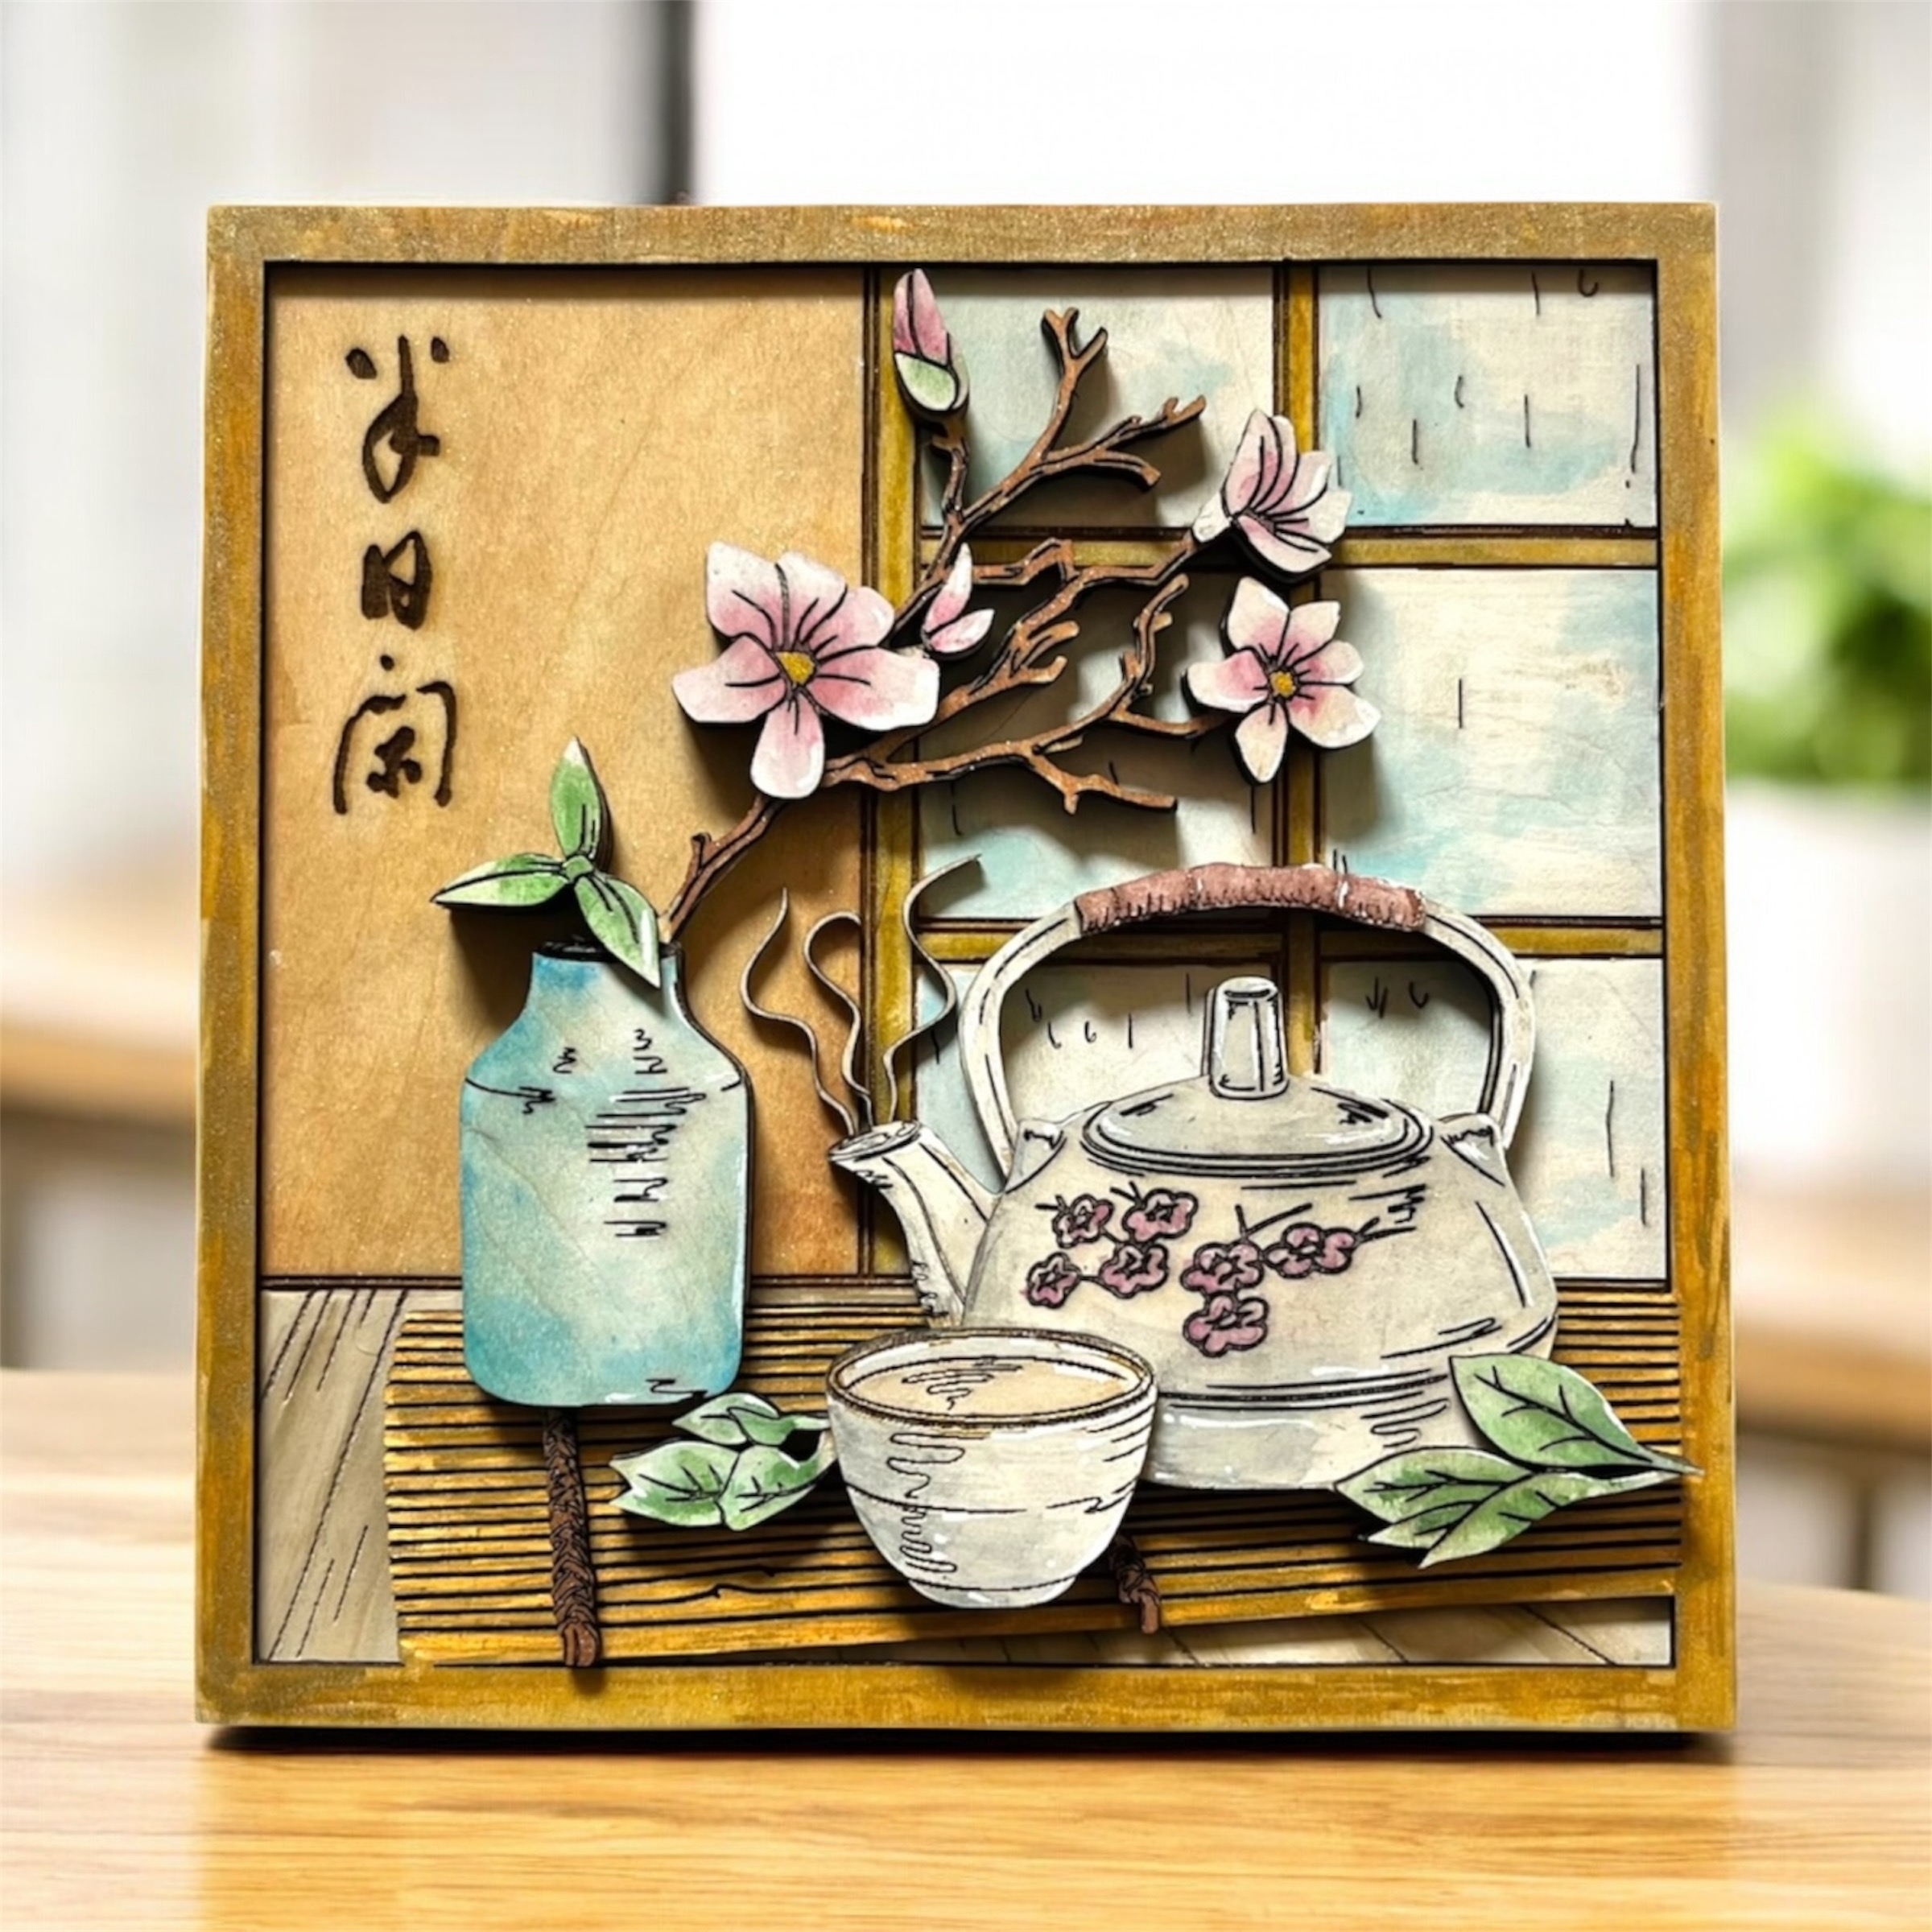
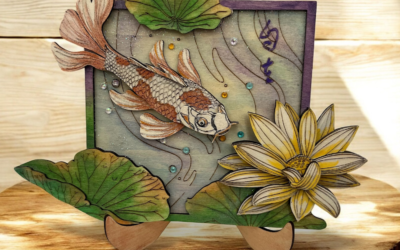
Laser wood art combines digital design, precision cutting, and artistic techniques to create beautiful multi-layered pieces with depth and dimension. This tutorial will guide you through the entire process of creating a lotus pond scene with 3D effects.
Materials You’ll Need:
- Thin plywood sheets (1.5mm or 3mm basswood or birch plywood recommended)
- Acrylic paints or wood stains
- Fine paintbrushes
- Colored markers for details
- Wood glue
- Small wooden spacers or dowels
- Shadow box frame
- Access to a laser cutting machine or service
- Vector design software
- Sandpaper (fine grit)
- Clear sealant (optional)
Step 1: Design Your Artwork
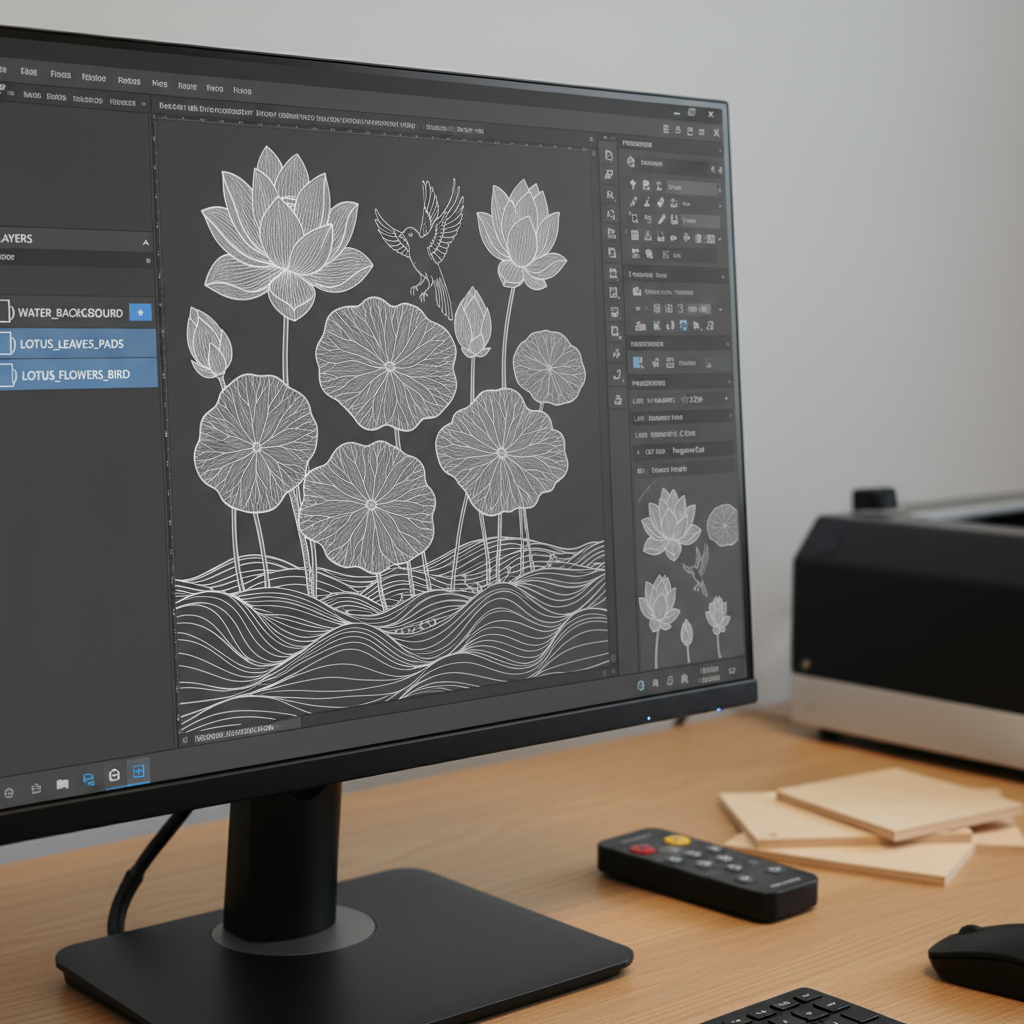
- Plan your layers: For a 3D effect, separate your design into distinct layers:
- Background layer (water/pond)
- Middle layer (lotus leaves/pads)
- Foreground layer (lotus flowers, bird)
- Create vector files:
- Use vector design software like Adobe Illustrator, Inkscape, or CorelDRAW
- Draw each element as a separate vector object
- Organize elements by layer
- Use different colors to distinguish cut lines from scoring or engraving lines
- Design tips:
- Keep connections between delicate parts to prevent breakage
- Consider how elements will overlap when designing each layer
- Add small details like water ripples, details on flower petals, or leaves as engraving lines rather than cuts
Step 2: Laser Cutting
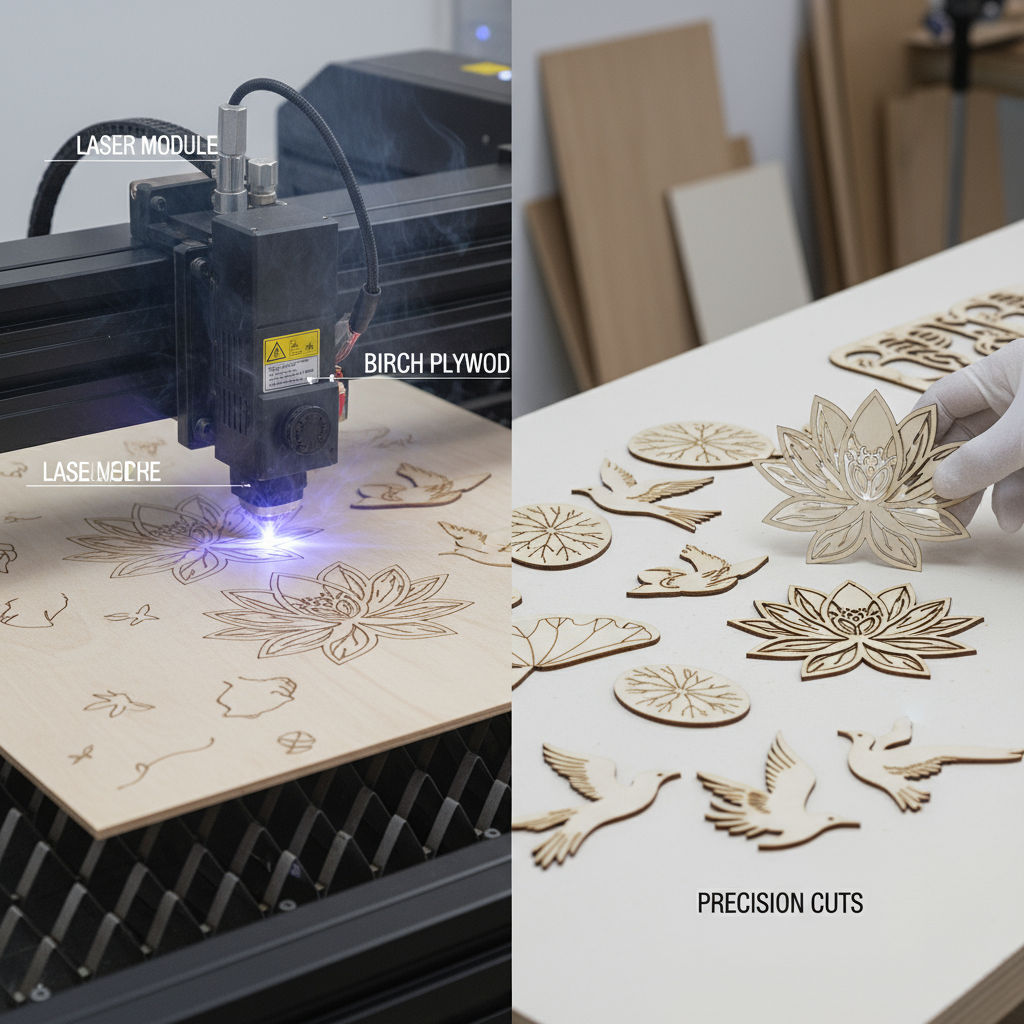
- Prepare your files:
- Convert your designs to the format required by your laser cutter
- Set appropriate power and speed settings for cutting vs. engraving
- Material selection:
- Choose thin plywood (1.5mm or 3mm is ideal for most layers)
- Ensure wood is flat and free of warping
- Lighter woods like basswood or birch show detail better and take color well
- Cutting process:
- Secure the wood firmly in the laser cutter
- Some test cuts, if needed, to verify settings
- Cut all pieces for each layer
- Label pieces if necessary to keep track of their positions
- Post-cutting:
- Carefully remove cut pieces from the sheet
- Sand edges lightly to remove any burn marks or roughness
- Keep pieces organized by layer
Step 3: Painting the Background
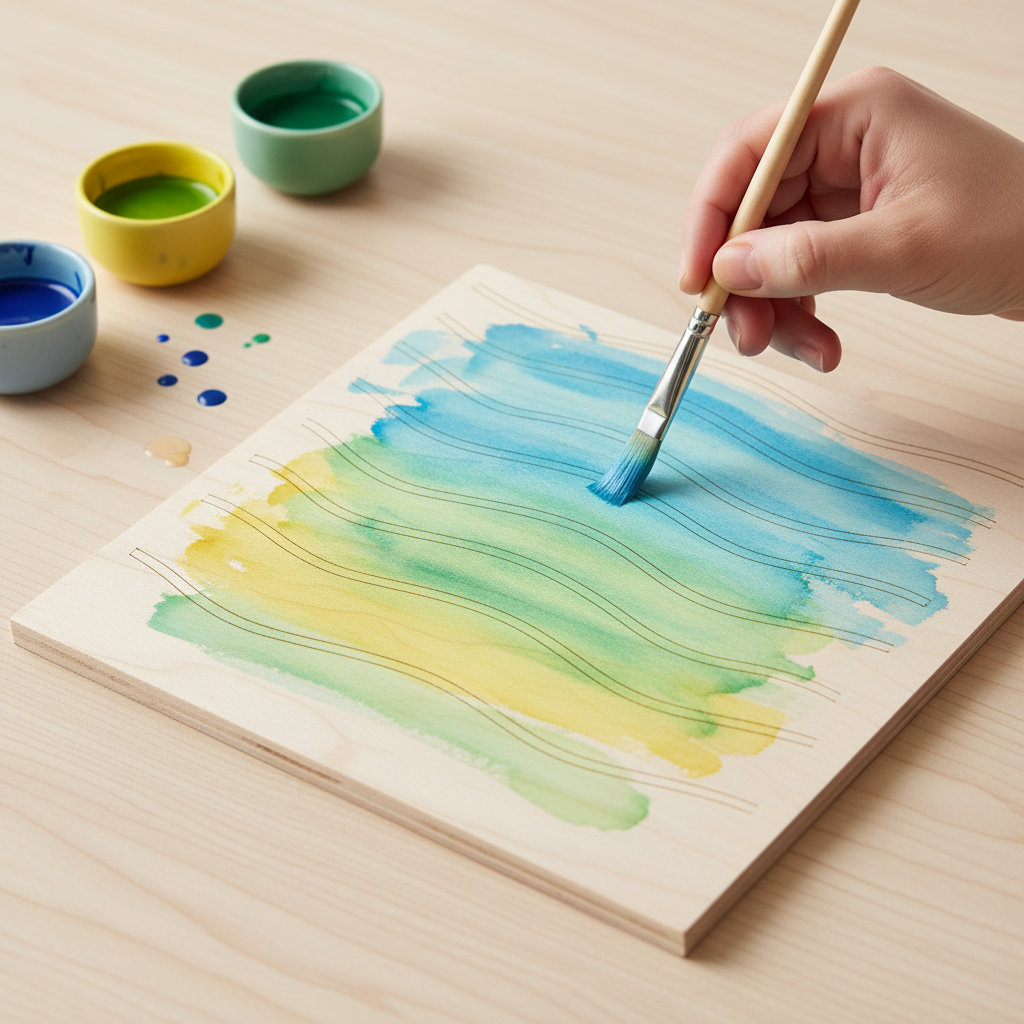
- Prepare the base:
- Sand the background panel lightly
- Clean off any dust
- Create the water effect:
- Apply a wash of blue and yellow watercolor-like paint
- Blend colors gently for a natural water appearance
- Allow colors to blend and create green areas naturally
- Let the first layer dry completely
- Add depth and detail:
- Use a fine brush to add darker blue horizontal lines for water ripples
- Add subtle reflections with thin, darker strokes
- Build up layers of transparent color for depth
- Allow each layer to dry before adding the next
Step 4: Coloring the Elements
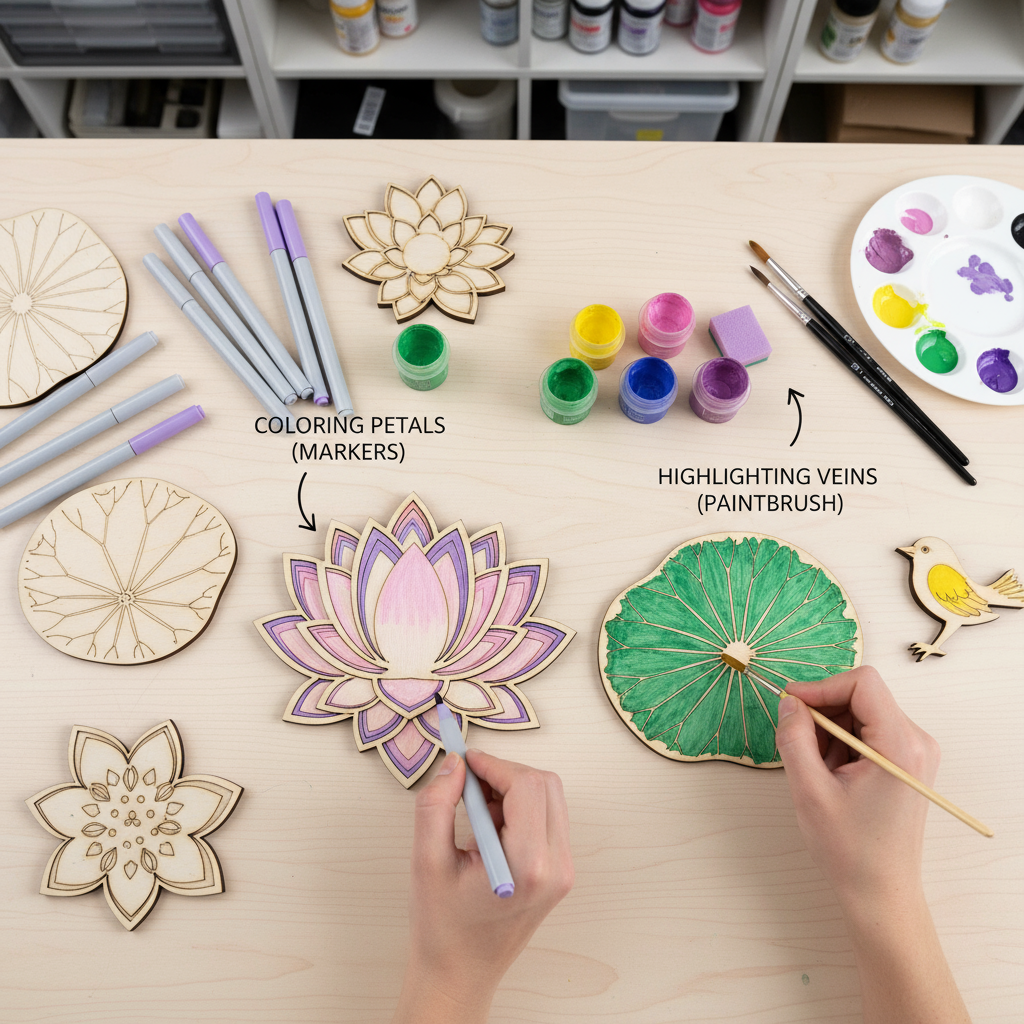
- Prepare the cut pieces:
- Arrange all pieces by type (flowers, leaves, birds)
- Sand edges if necessary
- Coloring technique:
- For lotus flowers: Use pink/purple tones, darker at the base of petals
- For leaves: Use green markers or paint, following the natural vein patterns
- For the bird: Use a yellow or other contrasting color
- Apply color in thin layers, building up intensity gradually
- Adding details:
- Use fine-tipped markers to enhance etched details
- Add darker outlines to create definition
- Highlight veins in leaves with darker green
- Add small details to the bird (eye, wing markings)
- Finishing touches:
- Apply light coats of clear sealant if desired
- Let all pieces dry completely before assembly
Step 5: Assembly
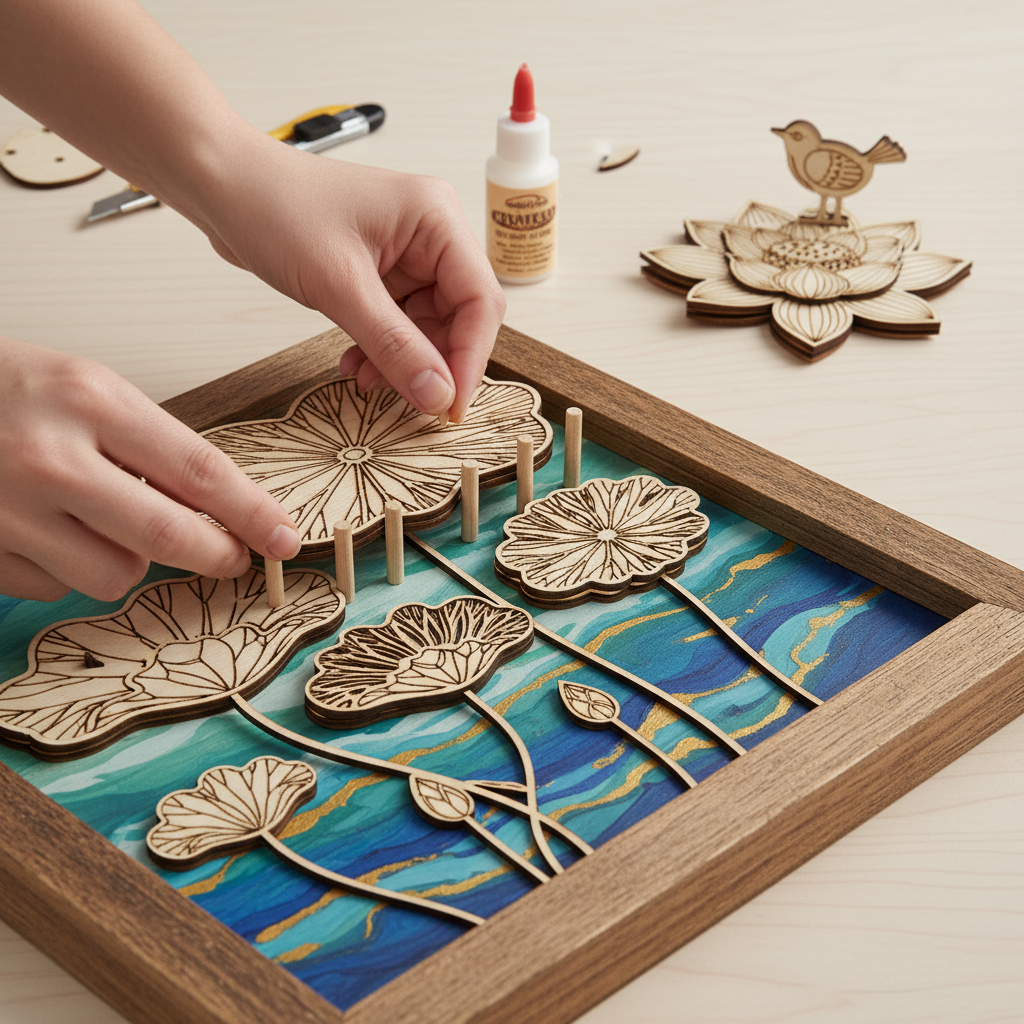
- Plan your spacing:
- Determine the height between layers
- Cut small wooden spacers or dowels to the desired height
- Assembly sequence:
- Start with the background water panel as the base
- Apply small dots of wood glue where spacers will go
- Position spacers evenly around the perimeter and interior
- Place the middle layer (lotus leaves/pads) on top of the spacers
- Add more spacers on top of the middle layer
- Position the top layer (flowers and bird)
- Alignment tips:
- Use tweezers for the precise placement of small pieces
- Check alignment from multiple angles
- Ensure elements overlap correctly to create the desired 3D effect
- Allow glue to dry completely before handling
Step 6: Framing and Display
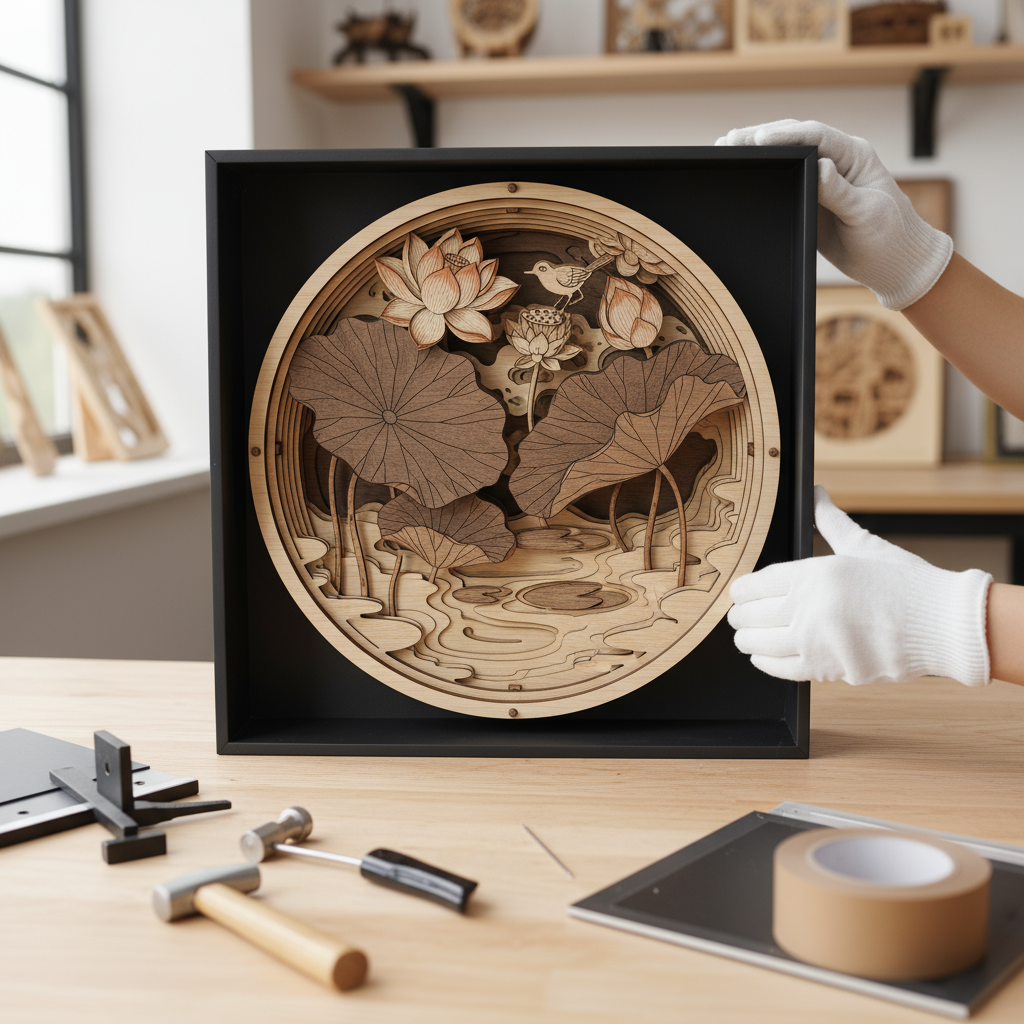
- Choose the right frame:
- Select a shadow box frame deep enough to accommodate all layers
- Measure the total depth of your assembled artwork, plus some extra space
- Mounting options:
- Mount the assembled piece directly to the backing board
- Alternatively, create a custom insert that fits inside the frame
- Final touches:
- Clean any fingerprints or dust with a soft cloth
- Add a hanging mechanism if it is not included with the frame
- Consider adding a small label or signature to the back
- Display considerations:
- Position in a location where light can enhance the 3D effect
- Avoid direct sunlight, which can fade colors over time
- Lighting from above or the side will create interesting shadows between layers
Tips for Success:
- Start simple: Begin with fewer layers and elements until you master the technique
- Test designs: Create small test pieces before committing to a full project
- Mind the gaps: Ensure cut pieces have enough connection points to remain sturdy
- Color consistency: Mix enough paint for each element to maintain consistent color
- Patience is key: Allow proper drying time between steps
- Backup pieces: Cut extra elements in case of breakage or coloring mistakes
With practice, you’ll be able to create increasingly complex and beautiful laser wood art pieces. The combination of technology and traditional artistic techniques offers endless creative possibilities!

0 Comments