Introduction:
Finding My Artistic Voice
When I first began creating laser wood art, I was captivated by the precision of laser cutting and the natural beauty of wood as a medium. Like many artists, my journey began with simple, flat designs — silhouettes of birds and flowers that were beautiful in their own right, yet somehow lacked the depth and dimension I envisioned.
Today, I’d like to share how my artistic process evolved from those early flat creations into the multi-layered, three-dimensional pieces I create now.
The Beginning:
One-Dimensional Thinking
My earliest pieces were entirely flat — everything existed on a single plane. I would design a complete scene — a bird, flowers, branches, water, sky — and have it laser engraved with details, then cut from a single piece of wood.
The results were clean and precise, but something was missing. The natural world I was trying to capture has depth, texture, and dimension that simply couldn’t be expressed in one layer.
I remember looking at one of my early lotus pond pieces and thinking,
“In nature, nothing is truly flat.”
A bird sits on top of a branch — it does not merge into it.
Flower petals overlap, creating natural shadows.
Lily pads float at varying distances across the water’s surface.
I needed to find a way to bring that natural dimension into my work.
The Breakthrough:
Discovering Layering
The turning point came when I began studying how elements relate to one another in the natural world.
In reality:
- A flower has layers of petals.
- A branch sits beneath a bird.
- Lily pads overlap across the water.
- Objects closer to us show more detail; those farther away soften and simplify.
This realization led me to experiment with cutting individual elements separately and assembling them in layers.
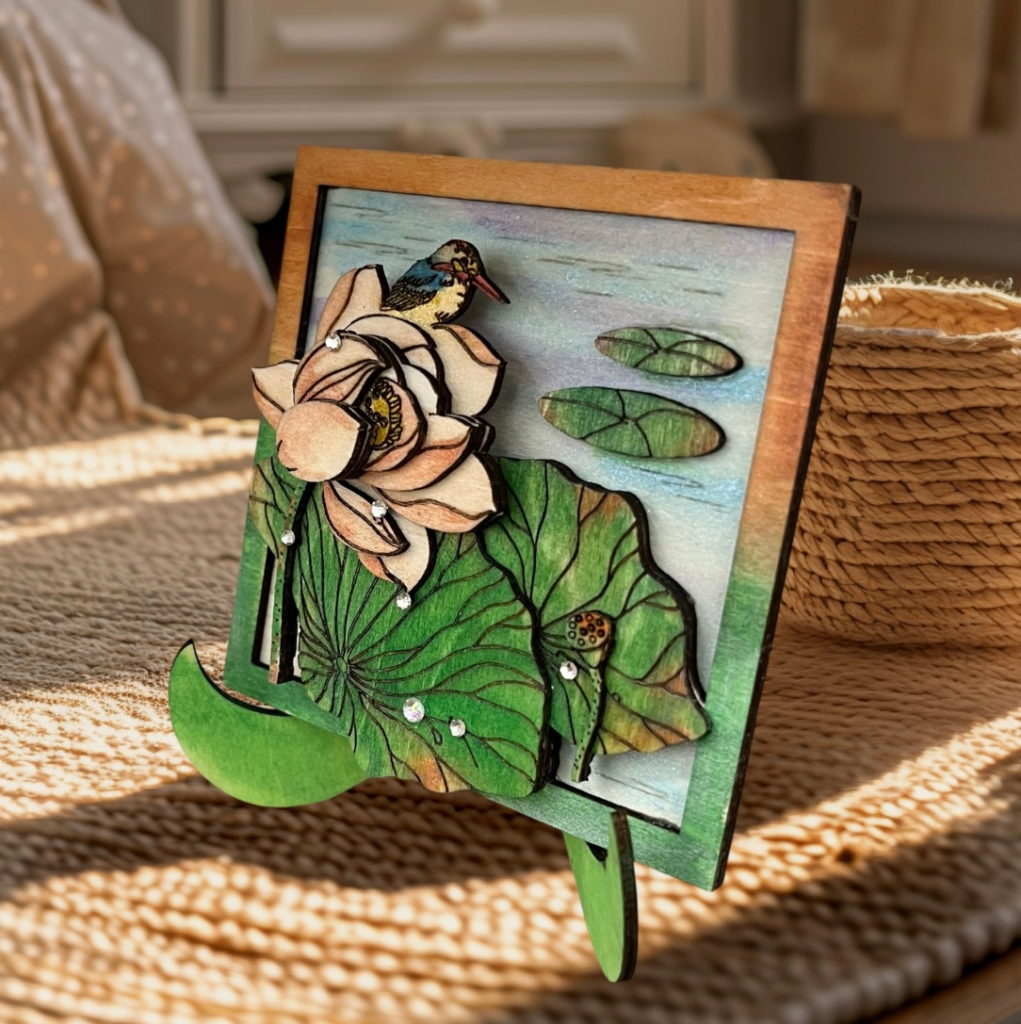
For my Serene Lotus Sanctuary piece, I cut the background, lotus flower, bird, and each lotus pads as separate components. By stacking these elements at different heights, I was able to create genuine depth and shadow.
The results were transformative.
Suddenly:
- The bird appeared perched behind the flower rather than fused into it.
- Lotus petals unfurled naturally, overlapping and casting subtle shadows.
- Lily pads positioned behind the flowers and lotus pod became smaller and less detailed, suggesting distance.
For the first time, my work felt alive.
Breaking the Frame:
Extending Beyond Boundaries
As I grew more confident with layering, I began noticing another limitation in my early designs — everything was confined within the frame.
But in nature, nothing stops at artificial boundaries.
Leaves extend beyond what we can see.
Petals overlap unpredictably.
Branches stretch outward without regard for borders.
My next evolution was allowing elements to break beyond the frame.
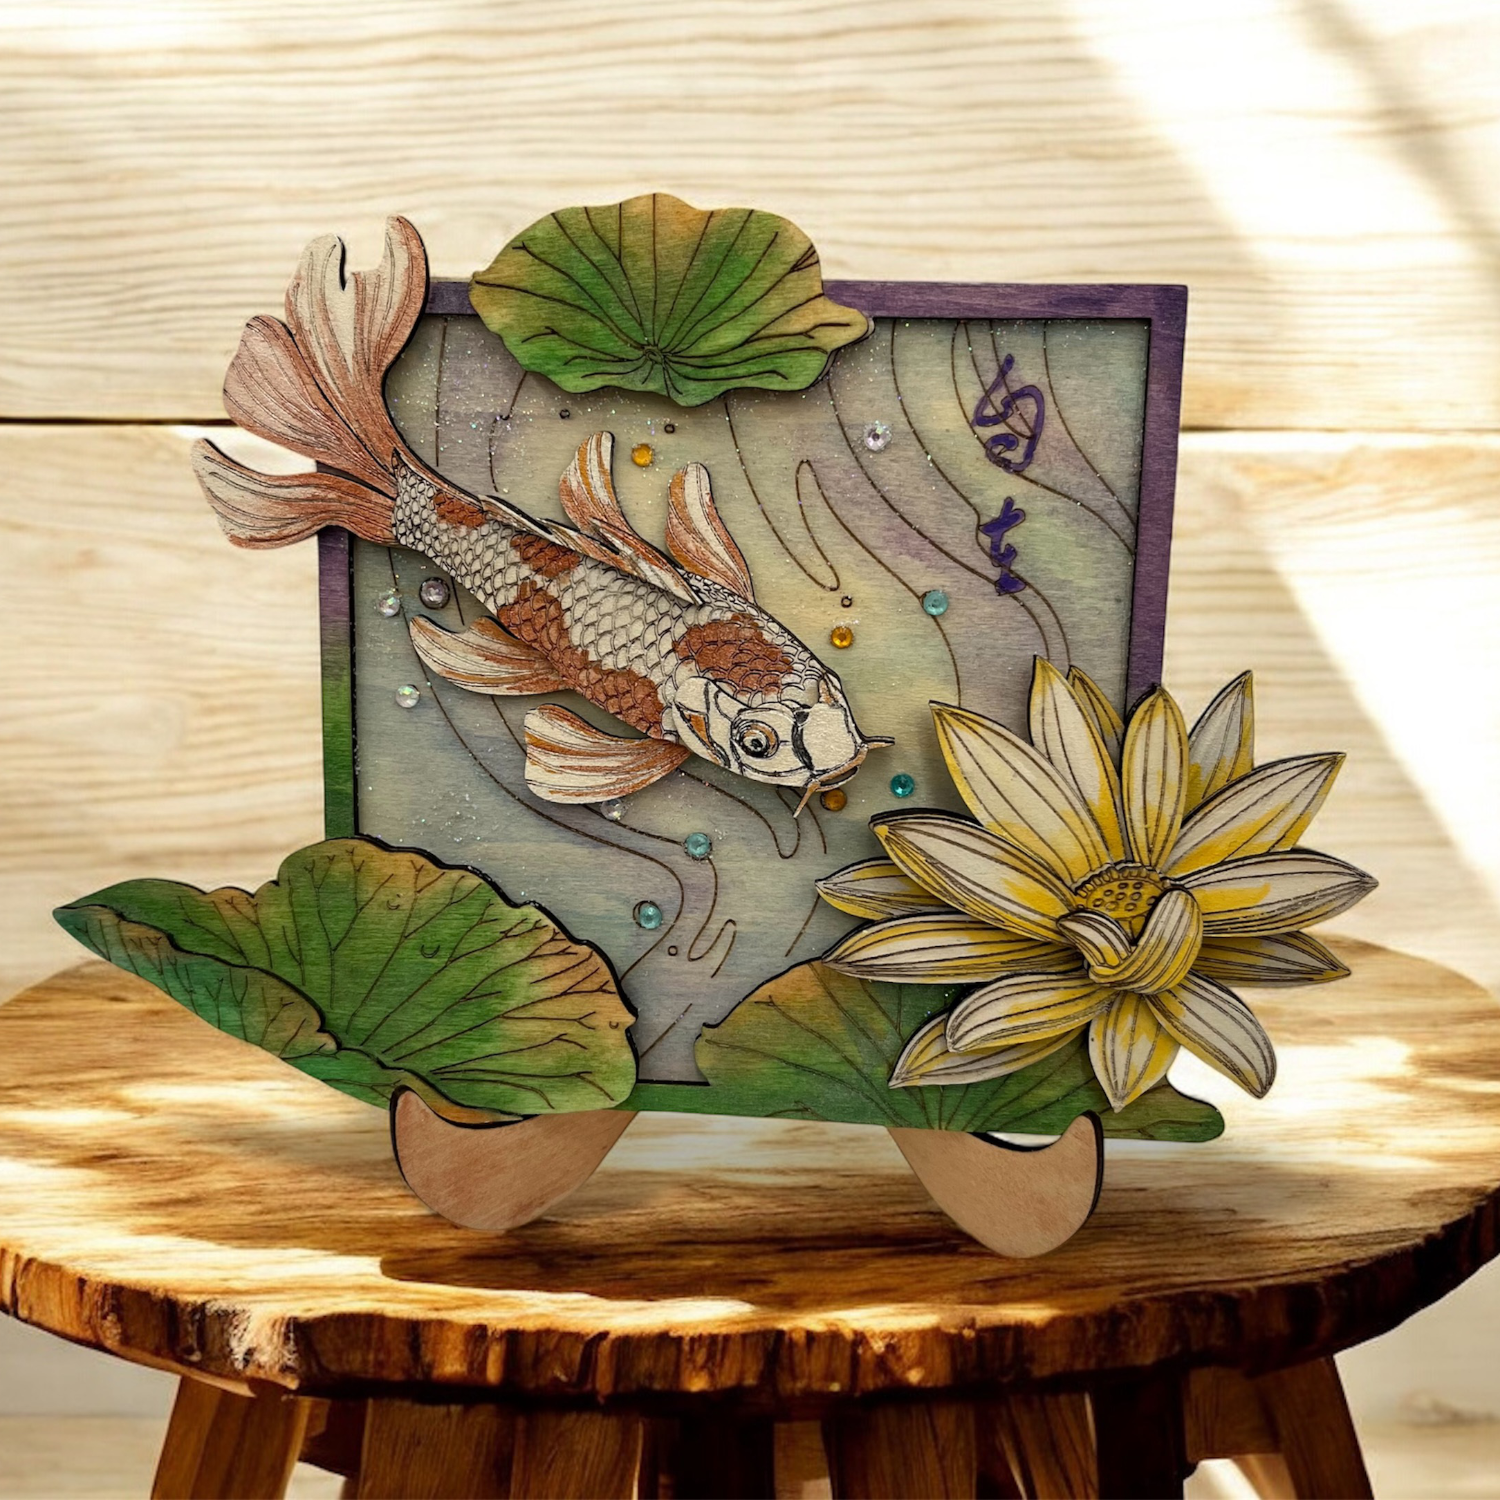
In my lotus and bud pieces, a large lotus leaf extends past the square border, escaping its confinement. This subtle shift created movement and energy, making the composition feel more organic and less restricted.
The piece no longer felt contained — it felt in motion.
My Creative Process:
From Concept to Completion
For those interested in how these pieces come together, here is my step-by-step process:
1. Conceptualization
Every piece begins with inspiration — often from nature photography or my own observations. I sketch ideas while considering which elements would benefit most from layering to create depth
2. Digital Design
I create vector designs for each individual layer, carefully planning how they will interact when assembled. Precision is critical, as each piece must align perfectly when stacked.
3. Laser Cutting
Each layer is individually cut from selected hardwoods. The laser cutter allows me to achieve intricate details in petals, leaves, and feathers that would be nearly impossible by hand.
4. Sanding & Preparation
After cutting, I gently sand each piece to smooth rough edges while preserving delicate details.
5. Coloring
Using a combination of stains, paints, and occasional metallic accents, I bring each element to life. I often leave portions of the natural wood grain visible, allowing it to become part of the design rather than covering it completely.
6. Assembly
This is where the magic happens. I carefully stack and glue each layer to create physical depth. At times, I incorporate small spacers between layers to enhance the dimensional effect.
7. Final Sealing
Multiple coats of clear protective finish seal the artwork, protect the surface, and enhance the richness of the wood grain and color.
8. Finishing Touches
For certain pieces — especially my lotus designs — I add rhinestones to mimic water droplets. Occasionally, I dust areas with glazing powder to create a soft shimmer in the water or sky, adding another level of detail and light.
Continuous Growth and Learning
My artistic journey has been one of constant evolution and discovery. Each piece teaches me something new about dimension, balance, and bringing life into wood.
I’ve learned that sometimes the smallest adjustments — an extra petal layer, a subtle shift in shadow, a leaf extending beyond the frame — can transform the entire composition.
What began as flat, single-layer designs has grown into complex, multi-dimensional artworks that capture more of nature’s depth and beauty.
And yet, I know I am still evolving.
Each new piece is an opportunity to push my techniques further — to discover new ways of bringing dimension, movement, and life into wood.
I hope sharing this journey inspires other artists to look at their own work with fresh eyes. Often, the most significant breakthroughs come not from learning entirely new techniques, but from seeing the world differently — and finding ways to express that vision through your chosen medium.
Thank you for joining me on this creative journey. I look forward to sharing more of my artistic evolution with you.

0 Comments